Creating the Perfect Moss Poles for Indoor Plants
Table of Contents
- Introduction
- Why Use Moss Poles?
- Benefits of Moss Poles
- What You Need
- Step-by-Step Guide
- Tips and Tricks
Introduction
Welcome back to my blog! Today, I'm excited to share how I make my own moss poles, essential tools for supporting and enhancing the growth of climbing plants like Monsteras and Philodendrons. Let’s dive into why these moss poles are so beneficial and how you can create one yourself.
Why Use Moss Poles?
Moss poles are much more than simple support stakes. They mimic the natural growing conditions of climbing plants, allowing them to attach their aerial roots and grow upwards, just like they would in the wild. This setup encourages plants to mature and develop larger leaves. Moreover, the moss serves as an extension of the pot, acting as a growing medium that provides additional space for root development.
Benefits of Moss Poles
As plants climb the pole, their aerial roots transform into water roots, absorbing moisture and nutrients directly from the moss. This leads to a robust root system, enhancing the plant's ability to thrive. Additionally, as each node attaches itself to the pole, every segment becomes pre-propagated, simplifying the process of cutting and extending your plant.

What You Need
To create a moss pole, gather the following materials:
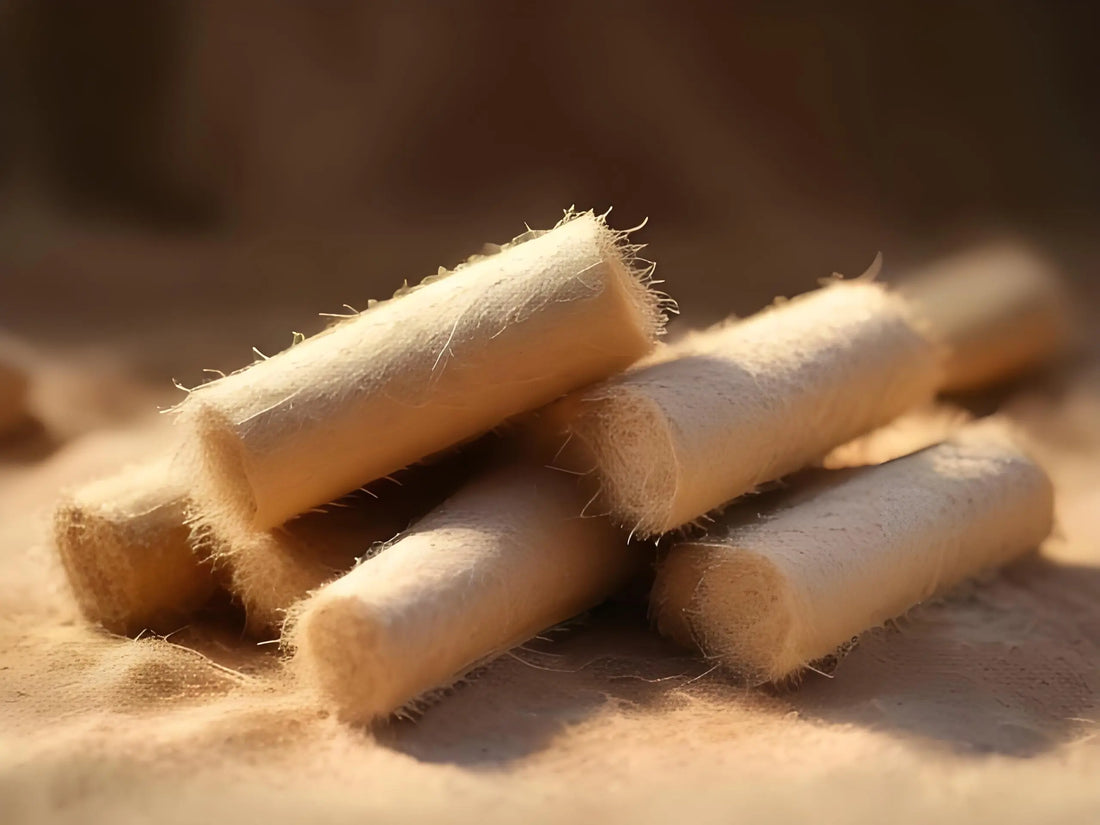
- Sphagnum Moss: Opt for sustainably harvested sphagnum moss. Avoid peat moss, as it’s not renewable.
- Wire Mesh: Use a coated wire mesh for structural integrity.
- Cable Ties and Wire Cutter: For assembling and shaping the pole.
| Aspect | Sphagnum Moss | Peat Moss |
|---|---|---|
| Sustainability | Renewable and sustainably harvested | Not renewable; decomposed over thousands of years |
| Moisture Retention | Excellent moisture retention | Good moisture retention |
| Environmental Impact | Low impact when harvested sustainably | Higher impact due to long formation time |
| Usage | Ideal for moss poles and providing aeration | Used in gardening but not ideal for moss poles |
Step-by-Step Guide
- Prepare the Moss: Begin by wetting the sphagnum moss. It should be moist but not soaking wet. Fluff it up to ensure aeration, which helps prevent mold growth.
- Cut the Wire Mesh: Use a wire cutter to size the mesh. I prefer a 6 cm diameter, which balances lightness and moisture retention.
- Assemble the Pole: Shape the mesh into a cylinder and secure it with cable ties. Fill the pole with moss, leaving the bottom 10 cm empty for potting medium.
- Finish and Secure: Trim excess cable ties, twist them inside, and roll the pole to ensure it’s cylindrical. This shape provides stability.
- Dry and Store: After construction, let the moss pole air out on a balcony to dissipate any initial odor. It’s ready for use once dry.
| Aspect | Coated Wire Mesh | Plastic Mesh |
|---|---|---|
| Structural Integrity | Strong and durable | Less durable, may become floppy |
| Support for Large Leaves | Provides strong support for large leaves | May not support large leaves adequately |
| Longevity | Long-lasting | Shorter lifespan due to material flexibility |
Tips and Tricks
- Make poles in batches to save time and effort.
- Keep the moss loose for better aeration and root growth.
- Consider experimenting with different growing mediums if desired, but ensure they retain moisture and nutrients.
By following these steps, you can create effective moss poles that support your indoor plants' natural growth patterns, leading to healthier and more vibrant greenery. Feel free to subscribe for more plant care tips and tutorials. Happy gardening!
Tags:
#Indoor Plants,#Plant Care,#Gardening Tips,#DIY Moss Poles,#Climbing Plants


2 comments
Wow! Thank you so much, I have learnt so much. I’m going to head over to Bunnings and get moss pole supplies 💕🌱
When I first started using poles I thought it was just about some thing to climb. The idea of making it an extension of the pot was really helpful in my understanding of how they really work. 😁